

Started by setting up a cardboard model to see how big we wanted the shelves and how space we needed for standing. I used some string and one piece of cardboard to rough it out.

This was the first end piece for the cabinet / shelf. From here I made 3 more identical pieces and then connected the middle section pieces. This turned out to be the best way for me to design it since so many of the angles are not predictable.

I connected the back of the shelves directly to the van wall frame and the overhead roof supports on the van body. I connected them with 6 quarter inch by 20 stainless steel bolts. And I used plus nuts to install the anchors into the roof supports.

Before the final install I used 3M abrasive pads to give the metal a shine and it creates the buffed look. After buffing the metal I cleaned it with isopropyl and then applied finishing wax paste to give it the dull gray finish.

Next, I cut out the wood pieces to fit inside the metal frame. And a lesson learned here. I should have finished all the welds and then cut the wood to fit. Because my inside welds made it so the wood pieces didn’t fit afterwards and I had to a lot of sanding.

Final look at the shelves before applying the wood and before applying the finishing wax.

In this view you can see the bar in the back of the shelves is anchored to the van body. I did not connect the cabinet/shelves to the ceiling because they didn’t need it and since the van tends to flex when moving I didn’t want rubbing noises or broken ceiling panels.
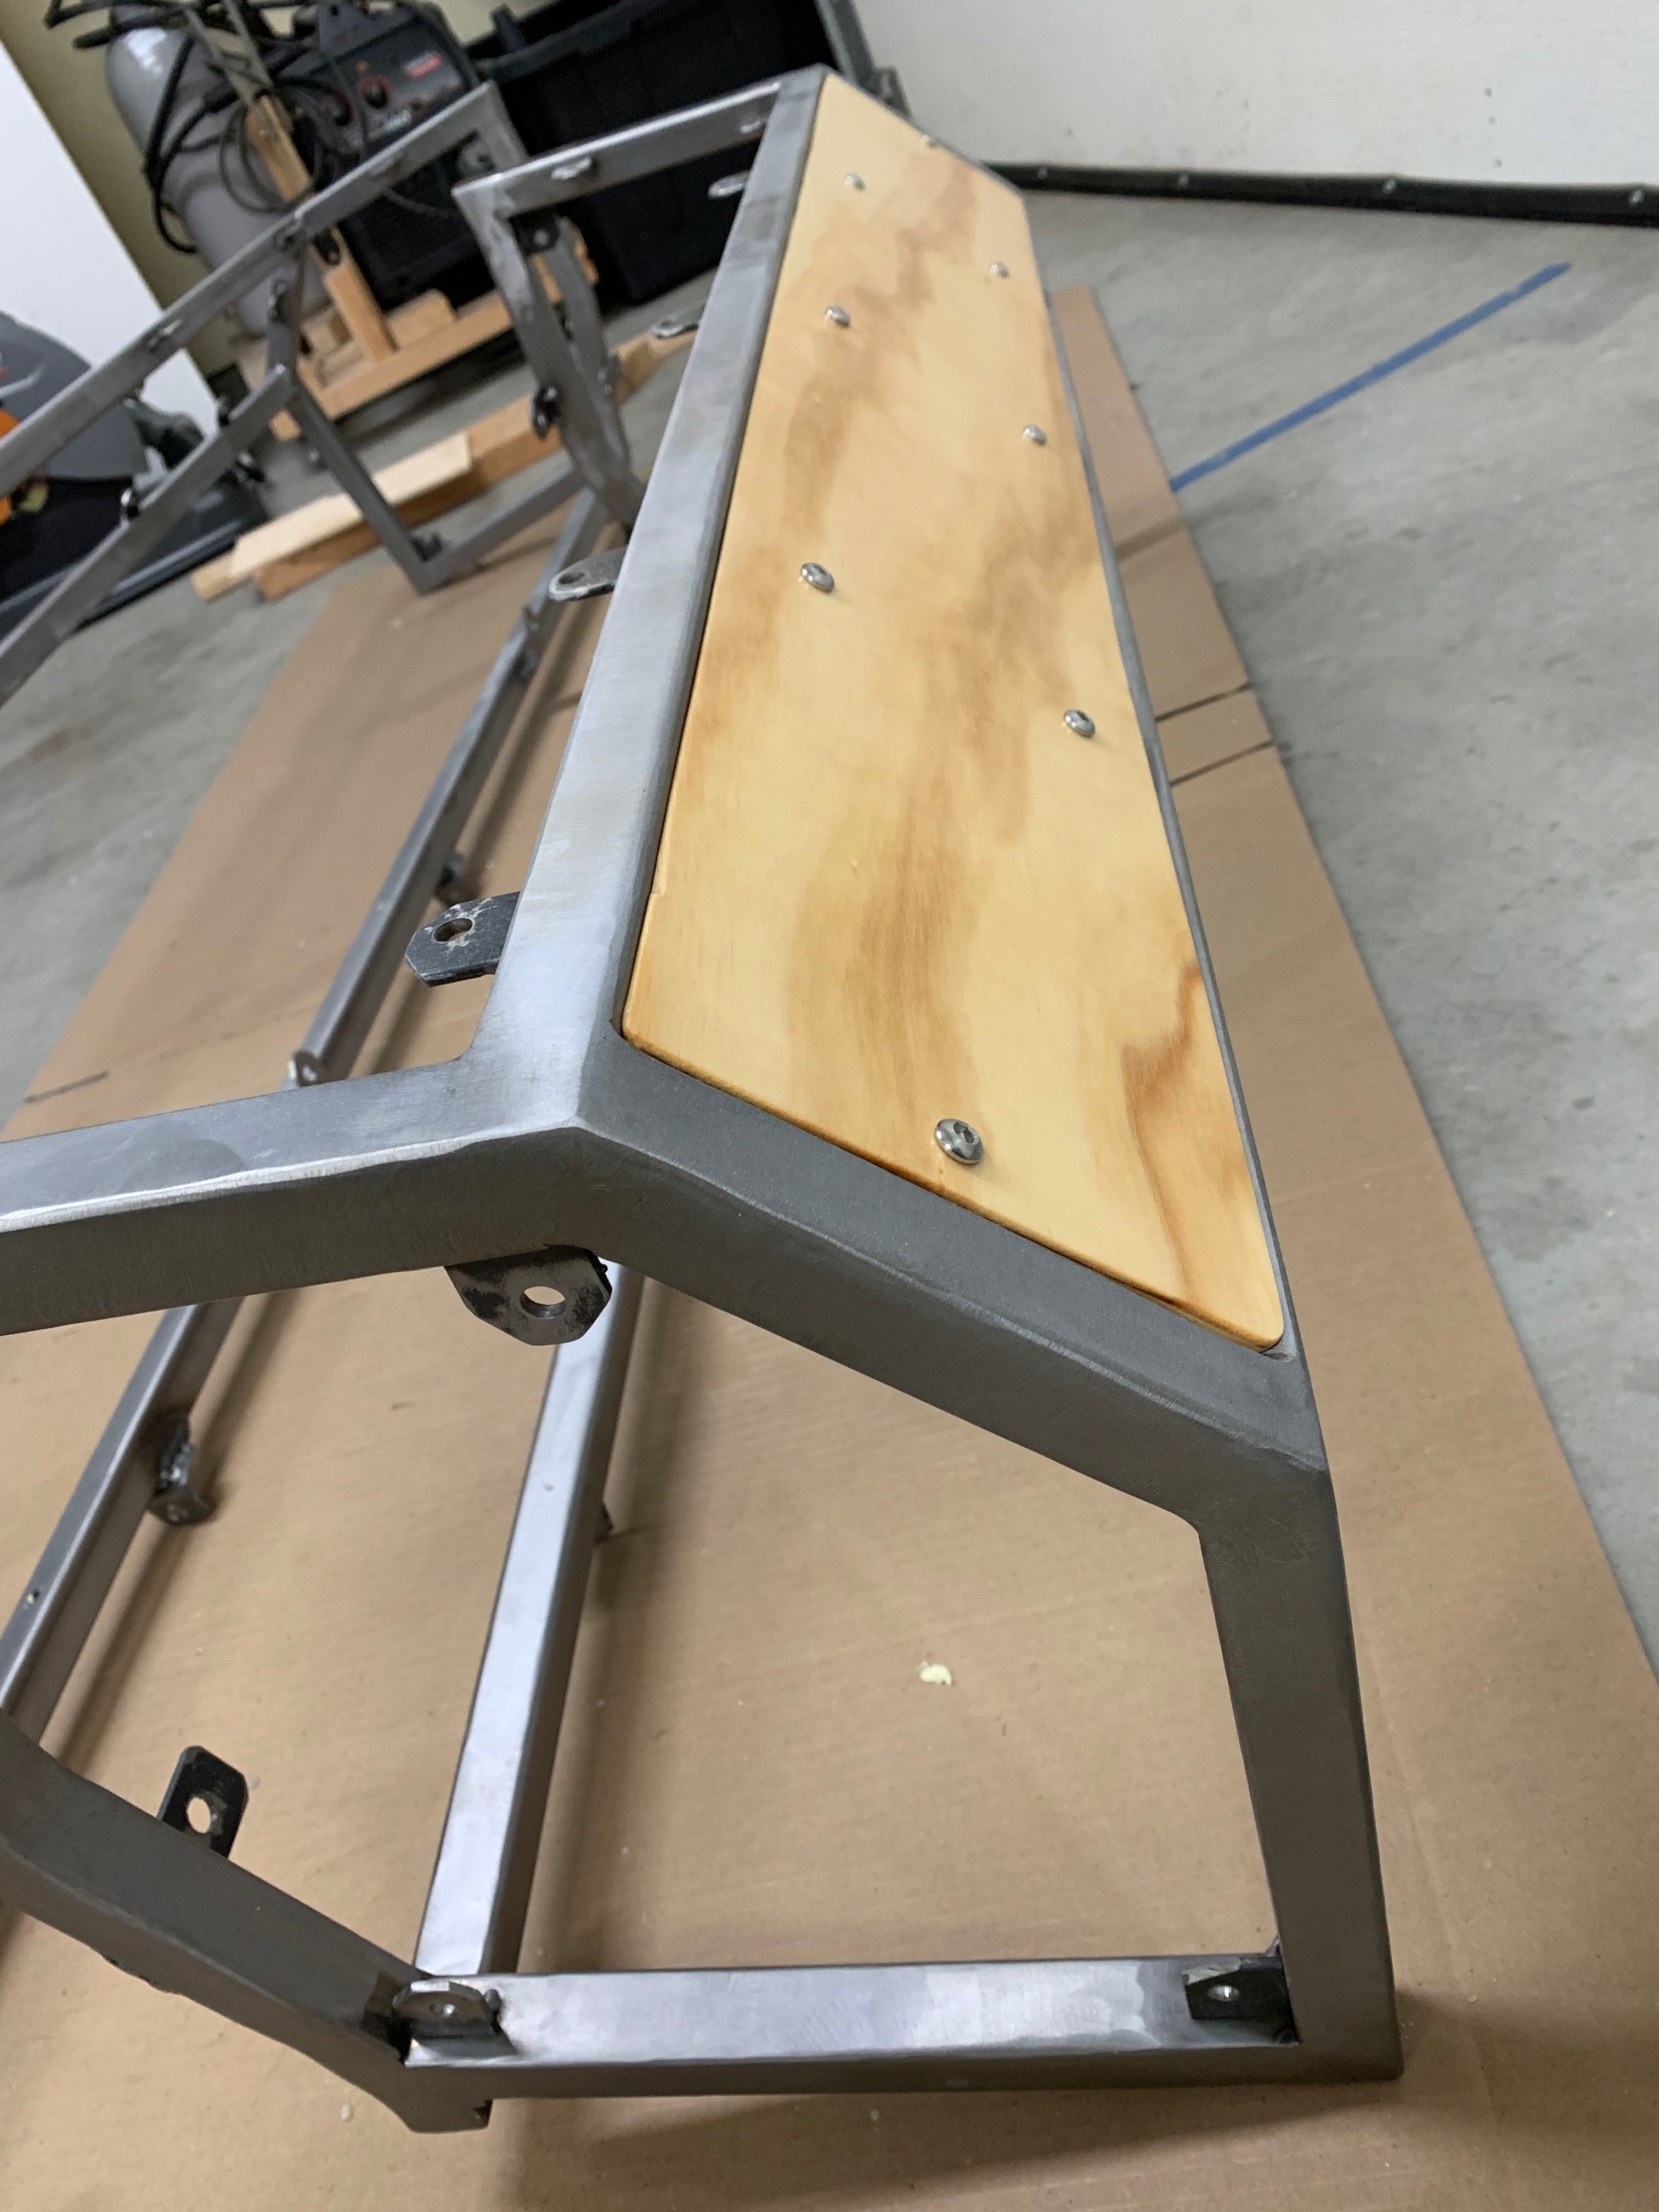
Here is a view of the first wood panel installed and the dull gray finish that comes after applying the finishing wax paste.

Next, I built a side storage bench to hold our bedding and extra supplies. This bench is designed to be an extra bed. On the front side I added a flip up shelf so we can still walk from the front of the van to the back. When the front is flipped down we have a space to walk and when it is flipped up it is time for sleeping.

The yellow arrow shows where the flip up front is going to be installed.

After applying finished wax and after sealing wood pieces.
The finished bench and storage cabinet before final installation.

